Wall art hanging and grouping: layout, colour, fixings and care
A successful wall-art arrangement connects sightline, grouping, colour and safe installation. Resolve the layout on paper, then choose fixings for the verified wall and load.
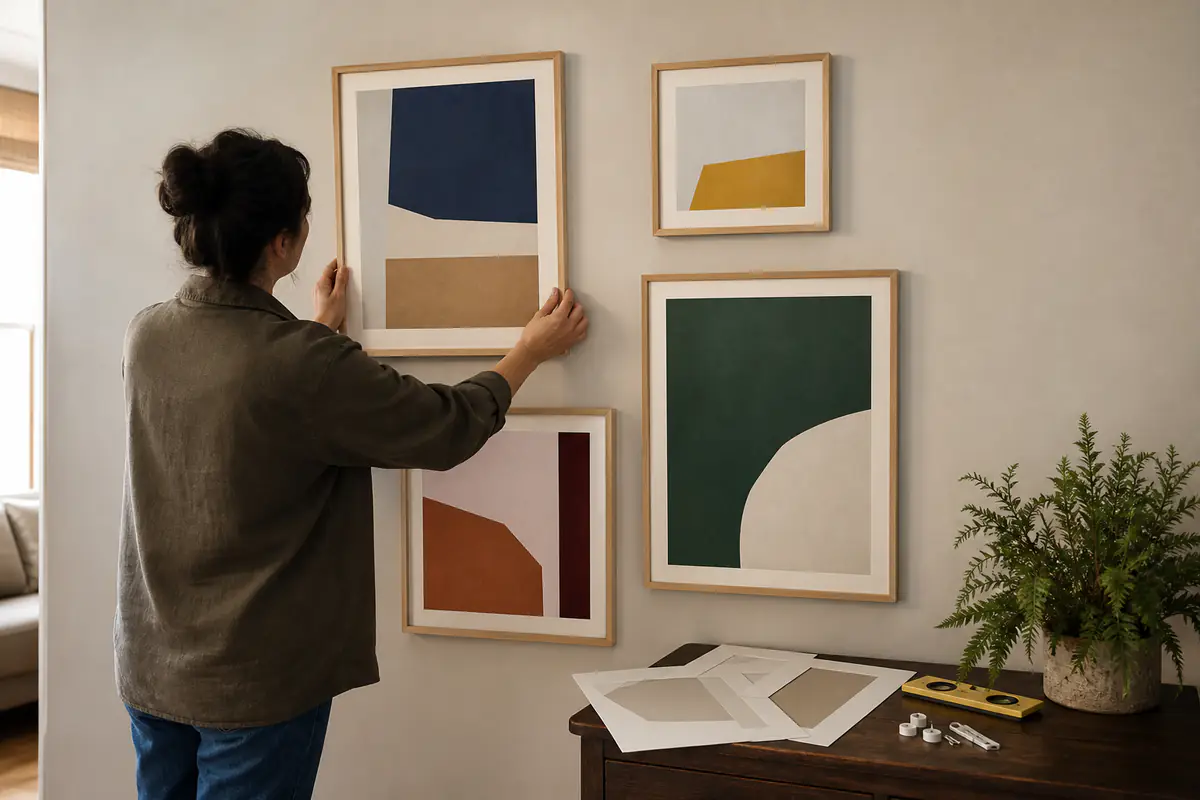
In this guide
Plan the composition before drilling
Measure the wall, furniture and viewing positions, then mock up the outside edges and spacing with paper templates. Scale is covered in our separate sizing guide; this article focuses on grouping logic, colour relationships, frames, glare, wall construction and a safe reversible installation.
Start with the wall-art sizing guide, relate the arrangement to our mirror proportion guide, then assess decorative ranges through the H&M Home UK review and Zara Home UK review.
| Decision | Measure or observe | Useful test | Avoid |
|---|---|---|---|
| Grouping | Outer boundary and gaps | Full-size paper templates | Spacing by eye from a ladder |
| Colour | Room materials in normal light | Move swatches through the day | Matching one screen colour |
| Frame | Weight, depth and glazing | Side view and glare check | Buying frame before artwork |
| Fixing | Wall type and total load | Approved system and safe survey | Generic plug for every wall |
Installation record
- Photograph the empty wall.
- Record wall construction and hazards.
- Measure artwork, frame and total weight.
- Mock the complete outer boundary.
- Set one consistent spacing rule.
- Check glare from seats and lamps.
- Choose compatible fixings and tools.
- Photograph final fixing positions.
Define what the arrangement must do
Decide whether the wall needs one focal work, a quiet supporting group, a personal collection or a flexible rotating display. The purpose determines visual density and how much empty wall should remain.
Name the main viewing position and the furniture relationship. Art above a sofa has a different balance problem from a stair group or narrow hall where close viewing and movement matter.
Resolve scale in the dedicated sizing step
Measure wall width, usable height, furniture, switches, doors and sightlines. Use the sizing guide to set an outside rectangle before choosing the internal grouping.
Do not let many small frames spread indefinitely. A clear outer boundary makes a collection read as one composition and preserves intentional negative space.
Choose a grouping rule that can be repeated
Grid arrangements depend on consistent frames and gaps; salon groups can vary while holding an edge, centreline or colour rhythm. State the rule before placing the second piece.
Lay the arrangement on the floor or in a scaled plan. Photograph versions and choose one based on balance from the main view, not only close-up detail.
Use paper templates for the full composition
Cut each outer frame size from scrap paper, label orientation and mark hanging point. Tape templates with a surface-safe method after testing an inconspicuous area.
View from each seat, doorway and standing path. Templates reveal whether a picture conflicts with a lamp, door swing or head clearance before holes are made.
Build colour from relationships, not exact matching
Identify dominant, supporting and accent colours in the room under normal daylight and evening light. Art can repeat one material tone, bridge two colours or introduce deliberate contrast.
Do not expect screen previews to match paper, pigment, frame or wall paint. If exact colour matters, obtain a reliable sample or use a return route that allows inspection without damage.
Choose frames as part of the visual system
Frame width, colour, mount, depth and glazing alter both apparent art size and total weight. A group can use identical frames, a restricted palette or a repeated mount width to create coherence.
Confirm the artwork’s material and conservation needs. Avoid trapping damp, using unsuitable adhesive or placing vulnerable work where heat and direct sun cause change.
Control glare and reflections from real seats
Glazing, dark artwork and shiny frames can reflect windows, lamps and screens. Test likely positions throughout the day and with evening lights.
Moving the artwork slightly, adjusting the angle or choosing suitable glazing may help. Do not place heavy glass where repeated impact or unsafe access makes cleaning difficult.
Verify wall construction and hidden services
Brick, block, stud, plasterboard, tile and layered walls need different drilling and fixing methods. Identify the construction and consider cables, pipes, damp and crumbling material.
Do not probe or drill on guesswork. Use suitable detection and a competent installer when construction, load or hidden services are uncertain.
Calculate total load and fixing geometry
Include artwork, frame, glazing, mount, wire and hardware. Two hooks do not automatically double a rating, because spacing, substrate and angle affect load sharing.
Use a complete system approved for the verified wall and load. Adhesive strips have surface, weight, preparation and removal limits and should not be treated as universal.
Install with controlled access and support
Use suitable access equipment on a stable surface, keep the area clear and ask for help with awkward or heavy pieces. Support the frame while engaging hardware and confirm it is fully seated.
Do not climb furniture or hold a drill and frame simultaneously. Use the access-planning method in our IKEA UK furniture review when size, weight or the route through the home changes the task.
Check level, spacing and security after hanging
Step back to the main view and measure critical gaps rather than chasing tiny visual corrections. Check frame contact, wall protection and any anti-tip or security hardware.
Recheck after the first days and after vibration, redecorating or moving furniture. A rattle, tilt or widening hole needs support and investigation, not repeated tightening under load.
Review the arrangement as light and use change
Photograph the group from the main doorway and seating positions in daylight and under the lamps normally used at night. Look for one frame that becomes a mirror, a dark work that disappears, or an edge that competes with a door, curtain or television when the room is occupied.
Live with the paper template or a safely supported mock-up before committing every fixing. If the arrangement only works from one close position, adjust the outside boundary, rhythm or lighting rather than adding more pieces. A good grouping should remain legible while people move through the room.
Plan rearrangement and end-of-life handling
Keep measurements, fixing type, wall photographs and frame details. A modular grouping is easier to change when one outside boundary and spacing rule are documented.
Repair holes with a method suited to the wall and finish. Reuse sound frames and pass on artwork with dimensions and safe collection information. Browse Home & Kitchen for related room planning.
One focal work or a grouped display?
The room needs a clear visual anchor
One correctly scaled piece has suitable colour, glare control and a safe fixing route without competing with strong furniture.
The collection shares a repeatable rule
Frames and artworks can hold a consistent boundary, spacing or colour rhythm and the total load can be installed safely.
Balanced verdict
Wall art succeeds when the composition and installation are designed as one system. Set the outside boundary, repeat a grouping rule and choose hardware for the verified wall and complete load.
Use templates before drilling, record the installation and recheck any movement rather than tightening blindly.
Official checks:
HSE manual handling guidance ↗
GOV.UK product safety alerts and recalls ↗
WRAP reuse and circularity information ↗
Frequently asked questions
How far apart should grouped frames be?
Choose one gap appropriate to the scale and repeat it consistently; mock the complete group before drilling.
Should wall art match the room colours?
It can repeat, bridge or contrast with them. Judge relationships in normal daylight and evening light rather than exact screen matching.
Can adhesive strips hold framed art?
Only within the exact product limits for weight, frame, surface, preparation and removal. They are not universal.
How do I avoid glare?
Test the intended glazing and position from real seats at different times and with evening lamps.
What fixing should I use?
It depends on verified wall construction, total load and hardware geometry. Use a competent installer when uncertain.
Methodology and limitations
We assessed wall art through purpose, grouping, templates, colour, frames, glare, wall construction, load, installation, post-hang checks and rearrangement. We did not inspect a specific wall or provide structural engineering advice.
Limitations
Walls, hidden services, frames, glazing and loads vary. Follow exact hardware instructions and use a competent installer for uncertain construction, heavy work or difficult access.