Cushions practical guide: plumping, washing and replacing inserts
Cushion care starts by separating cover, insert and filling. Read both labels, check whether components are removable, clean by material and dry fully before rebuilding the shape.
In this guide
Identify every layer before adding water
The outer cover, lining, zip, insert casing and filling can have different care limits. Plumping can redistribute a sound filling, but it cannot repair crumbled foam, broken feathers, failed seams or contamination that remains after approved cleaning.
Compare filling behaviour with cushion fillings compared, judge seams through furniture quality, and coordinate textiles with bedding fabrics explained.
| Component | Routine | Wash decision | Replace when |
|---|---|---|---|
| Removable cover | Vacuum or brush; rotate | Follow its own fibre, lining and trim label | Fabric, zip or colour no longer serves |
| Feather/down insert | Air and redistribute | Only if the insert label permits full drying | Persistent clumps, leakage or odour remain |
| Polyester insert | Rotate and tease apart | Label and machine-capacity dependent | Filling stays flat or lumpy |
| Foam insert | Air and spot care as directed | Avoid soaking unless explicitly allowed | Crumbles, cracks or loses support |
Cushion maintenance sequence
- Photograph labels before they fade.
- Separate cover and insert instructions.
- Vacuum seams and zip area gently.
- Rotate position and turn where construction permits.
- Plump by redistributing, not punching hard.
- Treat spills promptly with compatible methods.
- Dry every component fully before assembly.
- Measure the casing before buying a replacement insert.
Map the complete cushion construction
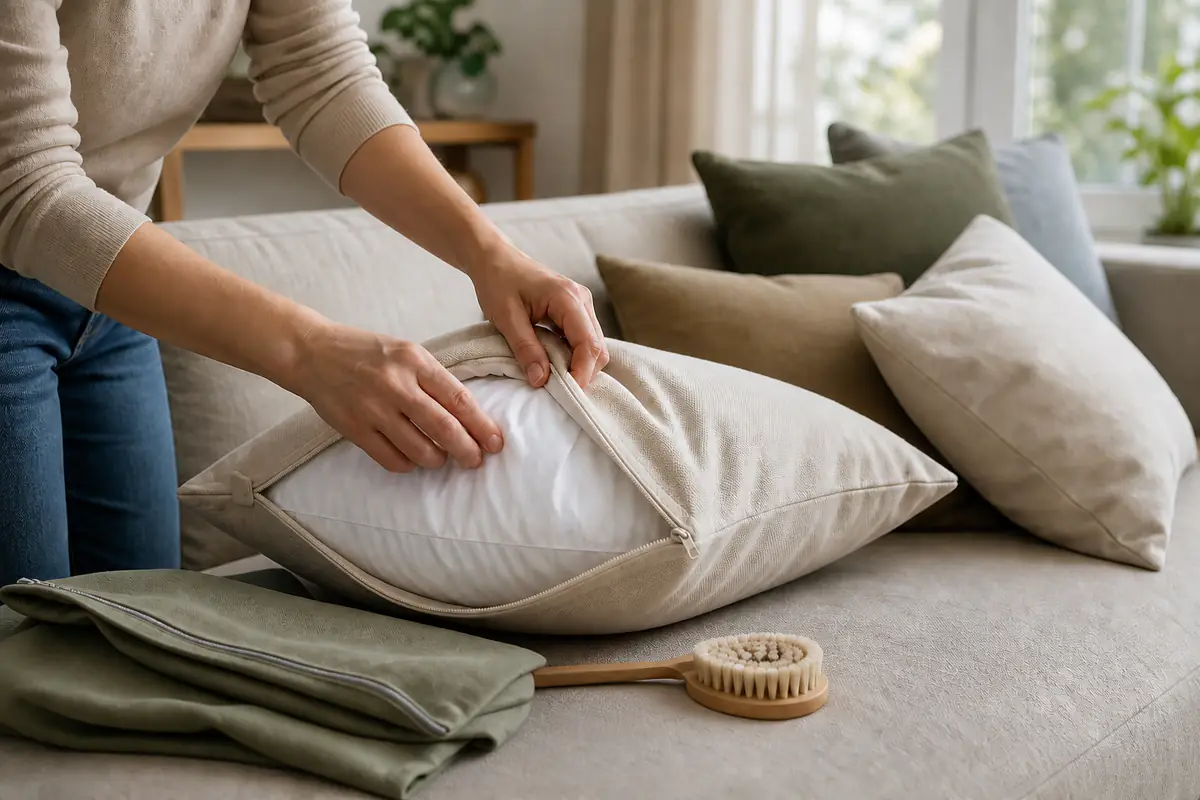
Open the zip carefully and identify any lining, fire label, separate insert casing, feathers, fibre or foam. Some decorative covers are not designed for frequent removal, while others have trims or coatings that narrow cleaning.
Save the label and photograph how corners and closures sit. The same-looking cushion can contain very different filling, so do not transfer a wash routine from another item.
Remove dry soil before spot cleaning
Use a soft brush or suitable low-suction tool while supporting seams, piping and tufts. Work both sides and the zip recess. Dry soil can become a muddy mark when liquid is added first.
Test suction and attachments on an inconspicuous area. Loose weave, embroidery, beads and aged fabric may require professional care rather than repeated vacuuming.
Plump by moving filling into empty zones
Support the insert and compress opposite edges gently to redistribute fibre or feather toward corners. Rotate the cushion and repeat. Vigorous punching can stress seams and break brittle filling without restoring loft.
Air where the label and weather allow, away from strong moisture and direct conditions that could fade or distort. Persistent flat areas can indicate compressed or migrated filling rather than a need for more force.
Treat spills by material and contaminant
Blot promptly with a clean colourfast cloth and follow the label. Work from the outside of the mark to reduce spreading. Do not saturate foam, feather or unseen lining to chase a surface stain.
Strong rubbing can alter pile and colour. Oils, dye, pet contamination and unknown vintage fabrics may need a competent cleaner. Preserve photographs if a new item arrived marked or leaking.
Wash removable covers only when truly removable
Check fibre, lining, trim, zip and shrinkage risk. Close fastenings as directed, use the stated temperature and avoid mixing unstable colour. A cover that shrinks slightly may no longer fit the unchanged insert.
Measure before washing and reshape within label limits. Do not put a cover back while damp; trapped moisture can transfer to filling and create odour.
Insert washing requires complete drying capacity
A washable insert becomes heavy and may exceed a domestic machine or dryer. Follow capacity and cycle guidance. Feather and thick fibre need thorough, even drying; a dry surface does not prove the centre is dry.
Break up clumps gently during approved drying and continue until no cool damp zones or odour remain. If full drying cannot be achieved safely, use professional care or replace.
Foam needs ventilation and restraint
Many foams should not be soaked, twisted or heated. Vacuum the casing and use only approved spot methods. Support the piece when moving because aged foam can tear under its own weight.
Crumbly, sticky, cracked or permanently compressed foam is a replacement signal. Do not hide deterioration by adding an overstuffed second insert inside an unsuitable casing.
Replace inserts by finished casing dimensions
Measure the cover between seams when empty and relaxed, noting rectangular or lumbar shape and corner construction. Insert size recommendations depend on filling and desired fullness; more oversized is not always better.
Check zip opening and whether the new insert can pass without forcing. Compare feather, fibre and foam through the filling guide and use cost per use for a frequently used sofa.
Rotate cushions around actual use
Swap high-use and decorative positions, reverse compatible cushions and keep them away from persistent sun, radiator heat and damp walls. A sofa corner used daily should not be judged against an untouched display cushion.
Coordinate replacement covers with room-scale planning rather than multiplying small accents. Browse Style & Gifts for distinct colour and placement guidance.
Retire components separately
A failed insert does not require discarding a sound cover, and a damaged cover may leave a usable insert. Check local textile and household-waste routes; filling composition affects recycling options.
Before donation, disclose stains, odour, pet exposure and filling condition. Clean-looking is not the same as hygienically suitable, especially after incomplete drying.
Check fire and product information before replacing components
A decorative cover, inner casing and filling may form part of the supplied product specification. Before substituting an insert, preserve labels and check current manufacturer guidance, particularly where the cushion belongs to upholstered seating. Do not remove safety information or assume any loose filling is appropriate because the dimensions fit.
Replacement materials should suit the intended location and user. Keep new component details with the cover, including filling, care and supplier. If labels are missing, the product is damaged by heat or contamination, or the use is in rented, hospitality or care settings, obtain competent advice rather than relying on a generic domestic method.
Diagnose colour change before attempting stain removal
A pale patch may be abrasion, sunlight or chemical colour loss rather than removable soil. Compare protected seams and the reverse under neutral light. Blot tests should follow the care label and use a white colourfast cloth; transferred dye or a roughened pile is a reason to stop.
Photograph new-item variation before cleaning because treatment can obscure whether the problem existed on delivery. For an older cushion, rotate exposure and review nearby windows, radiators, skincare, hair products and household cleaners. Repeated spot treatment cannot restore missing dye and may enlarge the contrast.
Store spare cushions without crushing or trapping moisture
Clean and dry every component, then use breathable protection in a dry location away from pests, leaks, direct heat and heavy objects. Avoid vacuum compression unless the manufacturer expressly supports it; prolonged pressure can crease foam, break feather quills or permanently compact fibre.
Inspect stored items seasonally for odour, damp, staining and filling migration. Air only under suitable conditions and do not return a cool, possibly damp insert directly to a sealed cover. A labelled storage record prevents mixing inserts of different care needs and makes component-level replacement easier.
Restore or replace the insert?
Filling is clean, sound and redistributable
Approved airing, rotation, plumping or washing restores even loft, and every component can be dried completely without stressing seams.
Structure or hygiene cannot be recovered
Foam crumbles, feathers leak, fibre stays compacted, seams fail or persistent damp, odour and contamination remain after appropriate care.
Balanced verdict
Cushion care works when cover, casing and filling are treated as separate materials. Remove dry soil, use restrained cleaning, dry completely and replace only the failed component where practical.
Keep measurements and labels so a future insert improves support without overloading the zip or seams.
Official checks:
WRAP textiles information ↗
GOV.UK product safety alerts and recalls ↗
Fire England home safety ↗
Frequently asked questions
How often should cushions be plumped?
Base it on use and filling. Gentle frequent redistribution is better than occasional hard punching.
Can feather inserts be machine washed?
Only if the insert label permits it and the machine and drying capacity can handle the wet weight and complete drying.
Should replacement inserts be larger than covers?
Sometimes, depending on filling and desired fullness, but excessive oversizing can strain zips, seams and corners.
Can foam inserts be soaked?
Many cannot. Follow the exact label; soaking and heat can damage foam and make complete drying difficult.
Why does a cushion smell after washing?
The centre may still be damp or contamination may remain. Stop use, separate components and dry or seek appropriate cleaning guidance.
Methodology and limitations
We assessed cushion ownership through cover and insert identification, dry soil, plumping, spills, washing, drying, feather, fibre, foam, sizing, rotation and component-level replacement. We did not clean or durability-test named cushions.
Limitations
Textiles, fillings, trims and care labels vary. This guide cannot establish hygiene after contamination or replace professional cleaning advice for valuable, delicate or persistently damp items.