Choosing curtain poles and tracks: span, brackets, load and fitting
The fabric is only half the system. Map the substrate, full span, curtain weight, bracket positions, stack-back, heading and operating path before buying hardware.
In this guide
Choose the fixing system before choosing the finish
Identify what the brackets will fix into, calculate the complete span and curtain load, and confirm the maker’s support spacing for that exact pole or track. Allow room for the heading, finials, returns and curtains to stack clear. Use a competent fitter when the substrate, height or hidden services are uncertain.
A pole can look substantial yet bend across a long window; a flexible track can follow a bay but demand more supports and careful glider spacing. The useful comparison begins behind the paint, where wall or ceiling construction determines the safe fixing method.
Match the system to the window
| System | Useful strength | Main constraint |
|---|---|---|
| Straight pole | Visible decorative hardware and rings | Span, centre support and finial clearance. |
| Straight track | Discreet operation and dense support points | Compatible gliders and heading clearance. |
| Bay track | Continuous route around bends | Bend radius, corner friction and fitting accuracy. |
| Bay pole | Decorative segmented arrangement | Joint, passing-ring and support compatibility. |
| Ceiling track | High visual line or limited wall space | Ceiling structure and level variation. |
| Tension system | No conventional drilled bracket in suitable recesses | Load, surface and maker limits. |
Draw the elevation before measuring hardware
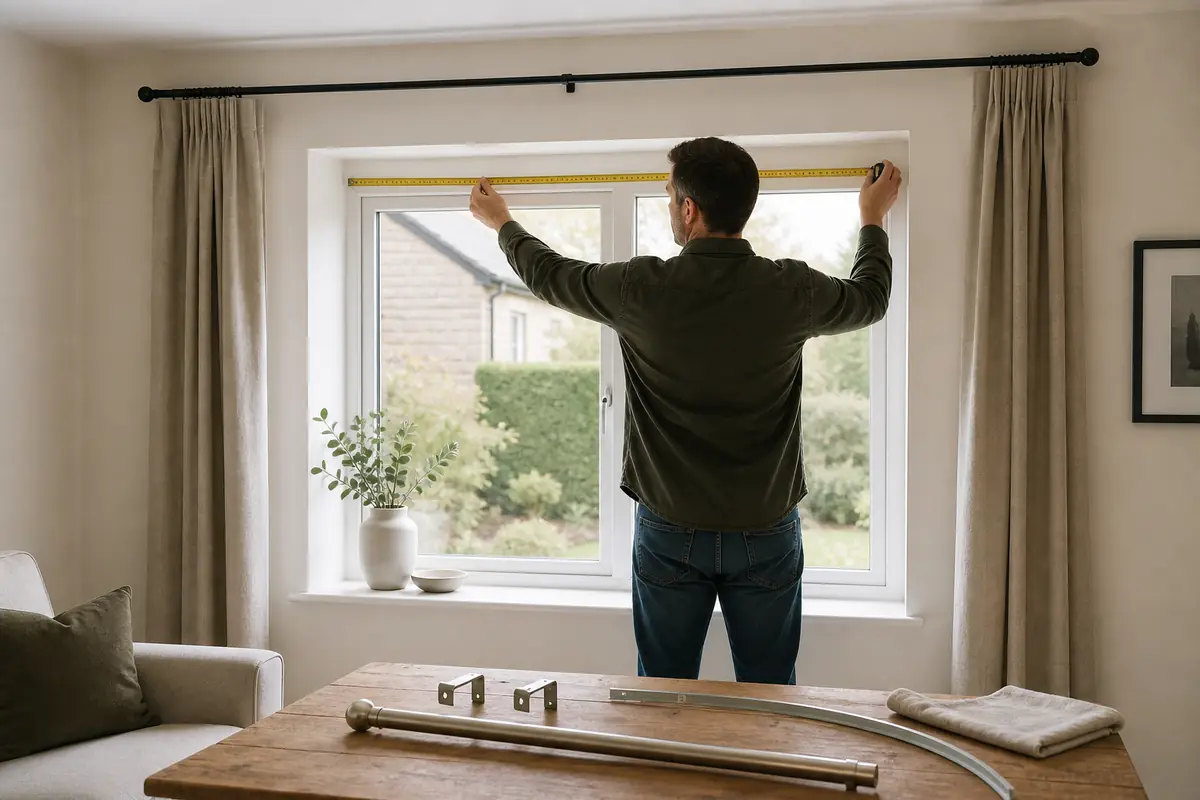
Record recess width, frame edges, opening handles, radiator, sill, sockets, alarms and furniture. Decide where curtains should finish and where they can stack without covering too much glass. Mark the intended hardware line on a photograph or paper elevation.
Separate curtain measurement from support measurement. The curtain-heading guide explains how eyelets, rings, hooks and tracks change the top geometry; the hardware must be explicitly compatible.
Identify the wall or ceiling construction
Determine whether fixing points are sound masonry, timber, plasterboard with suitable structure, lintel area or another construction. Do not assume a tap test reveals hidden services or adequate support. Record plaster depth, obstructions and any existing holes without reusing them automatically.
Fixings must suit both substrate and load and be installed to their instructions. If the route may contain wiring, pipework, a structural lintel, weak plaster or an inaccessible void, stop and obtain competent advice. Decorative wall plugs supplied in a pack are not universal evidence of suitability.
Estimate the complete moving load
- Curtains: include both panels, lining and interlining.
- Heading: add rings, hooks, gliders and tapes.
- Hardware: include the pole or track, finials and returns.
- Operation: allow for pulling forces and asymmetric opening.
- Future use: do not size for sheers if heavy curtains are planned later.
- Safety margin: follow the system maker’s stated load and spacing, not guesswork.
Ask the curtain maker for finished weight where possible. Blackout lining can add useful light control but also load; use the blackout-curtain guide to define the fabric brief before selecting supports.
Calculate span and stack-back separately
The pole or track normally extends beyond the opening so fabric can stack away from the glass. Measure available wall on both sides and check doors, cupboards and corners. Finials can add more width than the pole cut length, while returns bring fabric towards the wall.
Fullness changes the stack. Deep headings and thick linings occupy more space than a light single layer. Compare ready-made and custom dimensions with the ready-made versus made-to-measure guide before fixing a system that leaves nowhere for the final curtain.
Respect maximum span and support spacing
Use the exact manufacturer’s chart for diameter, material, span, load and bracket interval. A thicker pole is not automatically stiffer if material and joints differ. Telescopic overlaps, bay joints and passing brackets change the behaviour.
Place supports where both structure and the operating system permit them. A conventional centre bracket may prevent rings crossing; a passing-ring system needs matched components. Do not remove a specified centre support simply to achieve one-way opening.
Choose pole diameter and ring clearance together
Confirm the heading’s internal diameter and free movement over every joint. Rings should move without excessive slack or binding. Eyelet curtains require a compatible pole diameter and enough space above the pole for the heading to clear ceiling and trim.
Decorative finishes can mark from metal contact and repeated movement. Inspect joins, end stops and finial security. A pole that looks suitable in a close product image may be too shallow, thick or long for the real recess.
Plan track bends and glider travel
For bays, record each straight, angle and return using the method required by the track supplier. Some tracks are bent on site; others arrive formed. Confirm minimum radius, maximum unsupported distance and whether gliders pass joints and corners under the intended load.
Unequal curtain panels or one-way draw can load bends differently. Test the operating direction on a paper plan. Corded or powered systems add control locations, child-safety considerations, electrical requirements and maintenance that must be assessed from current instructions.
Check projection from wall and obstacles
Bracket projection must clear handles, vents, blinds, deep sills and radiator covers while keeping curtains at the intended position. Layered sheers and curtains may need a double system with enough separation for both headings to move.
Stand at the side of the window and draw the section, not only the front elevation. Nearby mirrors and wall art also need visual and physical clearance; do not crowd fixings into one narrow strip.
Plan safe access and installation sequence
Measure the working height and space for suitable access equipment. Clear furniture and keep other people away from the work area. Long poles can be awkward to control even when light. Follow current working-at-height guidance and the hardware instructions.
Mark, verify level, check services, fit supports, test the unloaded system, then add curtains progressively as directed. Stop if fixings rotate, plaster cracks, the pole bows unexpectedly or gliders jam. Do not conceal a weak fixing with filler and load it again.
Inspect operation and maintenance
Open and close from the intended hand position without pulling down on fabric. Check end stops, ring travel, bracket movement and curtain clearance. Reinspect after initial use and after curtains are cleaned because weight and heading position can change.
Use only approved cleaners and replacement parts. Keep the component list and load guidance. Assess material and finish with the home-product quality checklist, but give structural compatibility priority over decorative matching.
Check visual alignment across more than one window
For adjacent windows, decide whether the top line should align even when recess heights differ. Mark all proposed bracket positions before drilling and view them from the normal seating and entrance positions. A perfectly level pole can appear awkward beside visibly sloping architecture, but following the window blindly can create curtains with uneven floor clearance.
Prioritise secure structure and correct operation, then resolve visual differences through curtain length, returns or a planned reveal. Do not move a bracket away from sound structure merely to copy a decorative photograph.
Plan for removal, decorating and future curtains
Confirm whether the pole or track can be removed without destroying brackets, whether gliders and end stops remain available, and how the wall will be accessed for decorating. Keep spare compatible gliders and the component diagram in a labelled bag rather than mixing them with generic hardware.
If heavier curtains may be added later, size the system and verified fixing route for that intended load now. If not, record the present limit so a future owner does not assume the existing brackets support interlined or floor-length panels.
Control cords and accessible moving parts
Where a system uses cords, chains or powered controls, follow the current product instructions and applicable child-safety requirements. Keep loops, stops and controls secured exactly as designed and never improvise extensions. Test that curtains stop without pulling fittings from the substrate.
Homes with children, pets or vulnerable users need an operating route that does not invite climbing or entanglement. A plain hand-drawn system can be the better choice when it moves smoothly at a safe reachable height.
Which system is appropriate?
Visible hardware supports the design
The span, brackets, ring route and structural fixing points support the full curtain load.
Discreet travel or a shaped route matters
The substrate accepts frequent supports and compatible gliders move through the complete path.
Balanced verdict
The best curtain support is a documented load path from fabric through heading and hardware into suitable structure. Measure span, projection and stack-back; obey bracket spacing; and use a competent fitter where the substrate or access is uncertain.
Browse Style & Gifts guidance, compare room proportions in the living-room rug guide and use the shop directory.
Check current official sources:
HSE working at height guidance ↗GOV.UK product safety guidance ↗GOV.UK returns and refunds ↗
Frequently asked questions
Does every long curtain pole need a centre bracket?
Not every system is identical. Follow the exact span, load and support chart; never omit a specified bracket.
Can a curtain track fix to plasterboard?
Only with a verified substrate, suitable structure or fixing system and the required load capacity. Obtain competent advice where uncertain.
How far should hardware extend past a window?
Enough for the planned stack-back and light-control brief within available wall space; calculate it from the finished curtains.
Can rings pass a centre support?
Only on a compatible passing-bracket and ring system. Conventional rings generally cannot cross a conventional bracket.
Should I fit curtains before testing the track?
No. Test secure unloaded operation first, then add the intended load progressively according to instructions.
Methodology and limitations
We assessed curtain hardware through substrate, load, span, supports, stack-back, projection, headings, bends, access, operation and maintenance. Official UK safety and returns guidance was checked on 29 August 2026.
Limitations
This is buying guidance, not structural or installation advice. Buildings and systems vary; follow exact instructions and obtain competent assessment where needed.
The image is an editorial illustration, not a photograph from a product test. Links are editorial and non-affiliate.