Picture frames practical guide: cleaning, fading and backing
A picture frame protects an image only when glazing, mount, backing, fixings and display conditions work together. Cleaning the visible front is the smallest part of long-term care.
In this guide
Control light and moisture before polishing
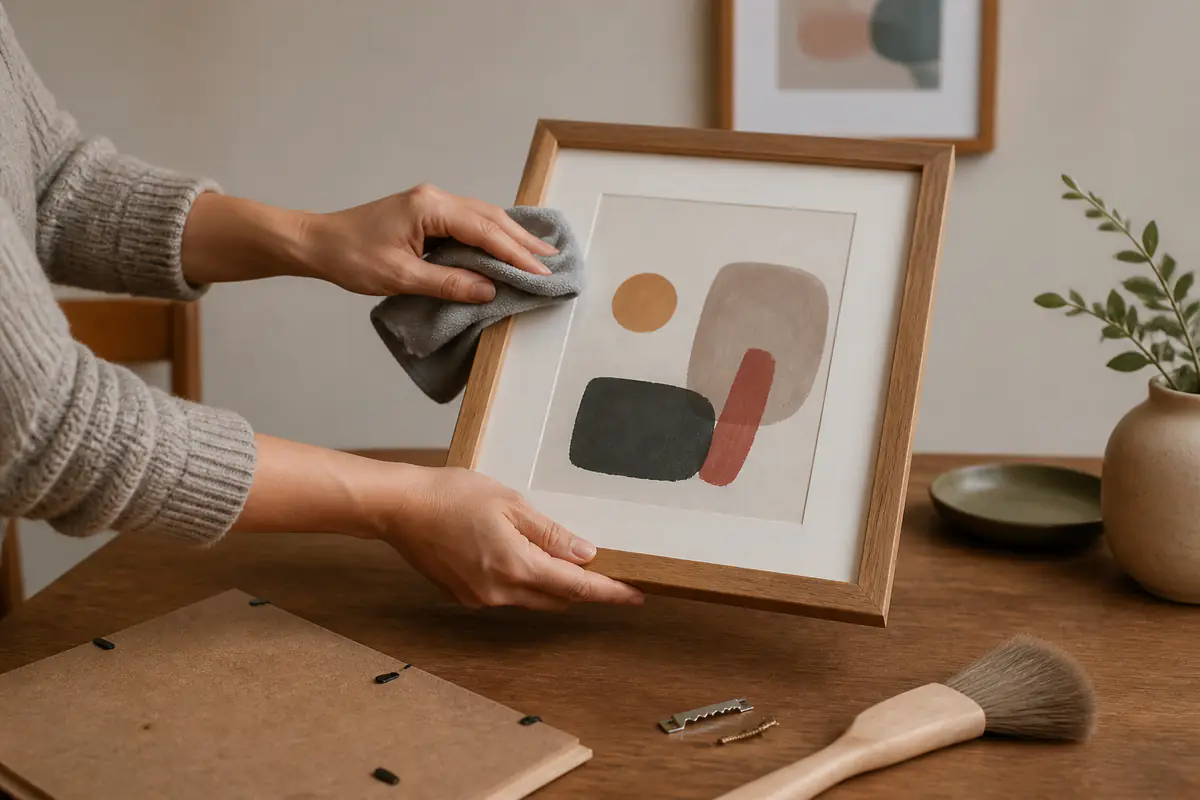
A clean frame can still fail if direct sun, damp backing or weak hardware is left unchanged. Identify every layer, document condition, dust with compatible tools and move the frame only after glazing and fixings are secured.
Choose the construction with the picture-frame buying guide, compare cost in the picture-frame value guide, and plan display scale using the wall-art sizing guide.
| Condition | Check first | Safer response | Avoid |
|---|---|---|---|
| Dusty glazing | Glazing material and coating | Use a compatible dry or approved method | Spraying cleaner onto the frame |
| Image fading | Light path and medium sensitivity | Reduce exposure and seek suitable glazing | Assuming all clear glazing blocks UV |
| Damp backing | Wall, humidity and mould signs | Remove from display and assess dry conditions | Sealing moisture inside |
| Loose corners | Join, glazing and hanging load | Support flat and seek repair | Lifting by the top rail |
Picture frame condition record
- Front and back photographs.
- External and aperture dimensions.
- Image, mount and glazing type.
- Frame and finish material.
- Backing and fastener condition.
- Daily light exposure.
- Wall and fixing type.
- Repair and moving history.
Identify the complete framed object
Record the image or object, mount, glazing, frame, finish, backing board, tabs or points, hanging hardware and any labels. A framed photograph, textile and original work do not share one cleaning method.
Photograph front, corners, reverse and fittings before intervention. Measurements and layer information help a framer reproduce the arrangement without relying on memory.
Map light across the day
Observe direct sun, bright reflected light and nearby heat at different times and seasons. Fading can affect the image, mount, frame finish and backing even when the room feels cool.
Move sensitive work or use suitable protection after informed advice. Do not assume ordinary glass, acrylic or a marketing phrase provides complete ultraviolet protection.
Control moisture at the wall
Check for condensation, cold external walls, damp patches, bathrooms, kitchens and poor air movement. Inspect the reverse periodically without dragging the frame across the wall.
If backing is damp, distorted or mould-affected, remove the work from the location and seek appropriate conservation or professional advice. Do not trap moisture behind fresh paper or tape.
Dust before using any liquid
Support the frame securely and remove loose dust with a clean soft tool suited to the surface. Work away from open edges and do not press particles across delicate gilding, paint or acrylic.
A vacuum, compressed air or rough cloth can lift decoration or scratch glazing. Test any approved method in an inconspicuous area and stop if colour transfers.
Identify glass, acrylic and coatings
Glass and acrylic can look similar but scratch, flex and react differently. Anti-reflective or protective coatings may require a specific cleaner and cloth.
Never spray liquid directly onto glazing because it can run under the lip and reach the mount or image. Apply only the manufacturer-approved amount to the cloth when wet cleaning is permitted.
Keep cleaner away from the image
Do not open a sealed or professionally framed work merely to remove a small speck unless you understand the assembly. Loose media, photographs and prints can be damaged by touch, static or moisture.
For valuable, irreplaceable or unknown materials, consult an appropriate framer or conservator. Use the wall-art ownership guide to assess the object as more than decoration.
Inspect mounts for contact and colour change
Look for yellowing, staining, cockling, adhesion or contact between the image and glazing. Record change over time in consistent light rather than opening the frame repeatedly.
A decorative mount is also a spacer and material choice. Replacement should preserve safe separation, proportions and any archival needs rather than simply matching colour.
Treat backing as an environmental barrier
Backing protects against dust, insects, handling and rapid environmental change. Check torn paper, loose boards, failed tape and openings around hanging hardware.
Do not close a damp or contaminated frame with household adhesive tape. Adhesives can fail, stain or make later work difficult; use an informed framing repair.
Check corners and joints without twisting
Support the frame flat while inspecting mitres, staples, wedges, dowels and decorative layers. A tiny opening can grow when the frame is lifted from one rail.
Do not glue a valuable or finished joint without knowing the material and load. A loose corner also changes glazing support and hanging safety.
Match fixings to wall, load and frame
Record total framed weight, wall construction, hanging hardware and fixing rating. Use two points where appropriate for stability and follow competent guidance for the wall.
Picture cord, wire, D-rings and sawtooth fittings have different limits. Replace frayed, corroded, loose or undersized hardware before rehanging.
Keep the frame level without repeated abrasion
Use stable hardware and small suitable bumpers where appropriate rather than pushing the frame back into place every day. Repeated movement can mark paint and loosen fittings.
Plan gallery arrangements with the gallery-wall planning guide and use paper templates before making many holes.
Store frames upright only with support
For short storage, protect glazing, corners and decorated surfaces with clean compatible layers and keep the frame stable in a dry, temperature-controlled area. Large frames may require a purpose-built rack.
Do not stack frames face to face or lean them at a steep angle where the lower edge carries uneven load. Keep them away from floors vulnerable to leaks.
Prepare glazing for a move
Photograph condition, remove loose hanging hardware, protect corners and place a clean rigid layer over the front without adhesive touching frame or glazing. Keep the package labelled with orientation and contents.
Tape applied to glazing is not a universal safety method and can damage coatings or leave residue. Professional packing is proportionate for large, valuable or irreplaceable work.
Repair at the right level
A replaceable backing or fitting differs from failed joinery, broken glazing, mould, flaking decoration or image damage. Ask for scope, materials, reversibility and effect on the original assembly.
Compare repair with replacement through the frame-size guide, especially when a standard frame would require an unsuitable mount or crop.
Protect labels, signatures and provenance
Do not remove gallery labels, inscriptions, framers’ marks or old backing notes merely to make the reverse look tidy. Photograph them and keep any detached label with the condition record.
These details may identify the maker, date, material or earlier framing and can affect both care and value. Covering them with new adhesive can destroy useful evidence.
Plan seasonal checks rather than constant handling
Inspect light, wall condition, level, fixings and backing at sensible intervals and after unusual humidity, building work or a move. Use consistent photographs to compare change.
Frequent lifting creates its own risk, especially for large or ornate frames. A stable display with a documented review is safer than unnecessary weekly dismantling.
If a condition change appears, record its location and extent before cleaning or tightening anything. Comparing dated images can show whether a gap, stain or distortion is stable, while immediate intervention may erase evidence of the cause.
Record changes and display decisions
Keep dates for moves, glazing replacement, mount changes, repairs and condition photographs. This prevents a later owner from mistaking a new backing for original material.
Browse Style & Gifts for related display and gifting guidance. Documentation is particularly useful when a framed item has personal, artistic or resale significance.
Should the frame be cleaned or professionally assessed?
Materials are known and stable
Loose dust and compatible glazing care can be completed without opening, wetting or twisting the assembly.
The object or structure is at risk
Broken glazing, damp, mould, failed joints, flaking finish or an irreplaceable image needs informed intervention.
Balanced verdict
Picture-frame care begins behind the visible surface. Control light and moisture, identify glazing, support joints and match hardware to the real load.
Clean only known stable materials and record every repair that changes the protective assembly.
Official checks:
The National Archives collection guidance ↗
V&A conservation information ↗
GOV.UK product safety advice ↗
HSE work at height guidance ↗
Frequently asked questions
Should glass cleaner be sprayed onto a picture frame?
No — Liquid can run under the edge; use only the glazing maker’s approved method and apply it to a cloth when permitted.
Does ordinary glass prevent fading?
Do not assume it does. Light sensitivity and glazing performance vary, and exposure should still be controlled.
Why does picture-frame backing matter?
It helps limit dust, insects, handling and environmental change and supports a complete protective assembly.
Can a loose frame corner simply be glued?
Not safely in every case. The join, finish, glazing load and value should be assessed before repair.
How should frames be packed for moving?
Document condition, protect glazing and corners with compatible rigid layers, label orientation and avoid adhesive touching the object.
Methodology and limitations
We assessed picture-frame care through object identification, light, moisture, dust, glazing, mounts, backing, joints, fixings, storage, moving, repair and documentation. The method begins with the least invasive observation and distinguishes ordinary replaceable fittings from glazing, mounts, decoration or objects that may need professional conservation. It gives environmental stability and safe support greater weight than cosmetic improvement, and uses dated condition photographs to judge whether a change is active. Display, storage and transport were considered separately because a frame that is stable on a wall can face different loads and moisture risks during a move. We did not inspect individual frames or artworks, identify materials remotely or recommend opening a sealed assembly where doing so could damage provenance, finishes or an irreplaceable image.
Limitations
Materials and conservation needs vary widely. Valuable, historic, mould-affected, broken or irreplaceable framed objects may need a qualified framer or conservator.